Guide To Bashing Your Beret
When purchasing your new Kent beret, it is essential that you choose the correct size. The beret should be snug, but not tight. According to the Army Dress Manual (ADM 2013), the beret is to be worn with the band level on the forehead and level from front to rear on the left side. The lower edge of the band is to be 2 to 3 cm above and parallel to the eyebrows. The crown of the beret is to be pulled down to the right and the Corps, regiment or unit badge is to be positioned vertically over the left eye. The badge is positioned centrally on the backing provided with the lower edge 1 cm above the band. The beret is not to be carried tucked under the epaulette, through the belt loop or in pockets when it is not worn. The ribbon within the band is finished in a small, neat bow at the rear of the beret. The bow is to be sewn to the band.
As with all Kent Berets, there is no liner needing to be removed, nor is there any pill requiring ‘shaving’.
The following steps are seen as “Best Practice”. However, other methods can be employed with equal results.
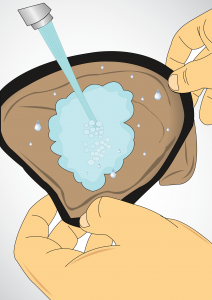
Soak the beret in a sink or bowl half filled with hot water (not hot enough to scold your hands).
Soak the beret in a sink or bowl half filled with hot water (not hot enough to scold your hands).
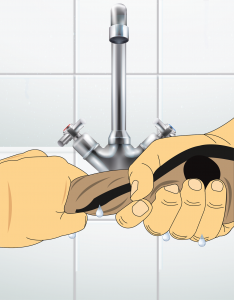
Once the beret has been soaked, remove the beret from the water and ring it out.
While standing in front of a mirror, place the wet beret on your head, ensuring that it is placed on correctly, i.e., IAW ADM.
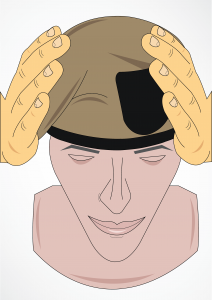
While holding the beret in place with your left hand, use the palm and straight fingers of your right hand to pull down on the right side of the beret towards your right ear ensuring that the top of the beret is being moulded to the top of your head.
Once the right side of the beret has been moulded into position, carefully remove the beret from your head and place on a cool, flat surface.
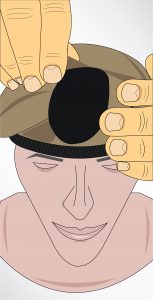
Next step is to mould the area where the badge is going to be placed. This requires you to visualise where the badge will be situated on your beret, and to keep that area flat so that it sits vertical on the beret. Using both hands, mould this area to form an apex between where the badge will sit, and the top slope of the beret. Ultimately, you are wanting to achieve keeping the badge area vertical, while having the top slope just covering the top left area of the badge. IMPORTANT NOTE do not cover any area of the crown, this must remain unobscured.
Using your thumb and forefinger, pinch each of the creases you have now formed so that they form a crease. It may be necessary to place pressure for a while on the newly formed apex above the badge area, (i.e., a peg with plastic pieces between the peg and the beret so as not to leave impressions from the peg).
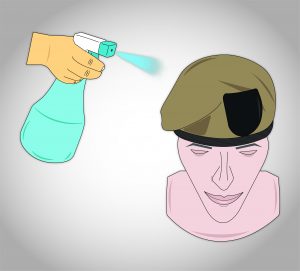
The final stage is now the drying of the beret. This can be done by simply leaving the beret to dry at room temperature, however, your bash may not hold for too long. To help maintain the bash on your beret, it is useful to obtain a spray bottle with an atomiser attachment and to spray methylated spirits over the beret. This may need to be done several times. The metho will help to dry the beret faster, while stiffening the fabric to maintain the bash. It is important to note that methylated spirits are highly inflammable, and should not be breathed in. This step needs to be completed in a well-ventilated area, away from any naked flames.
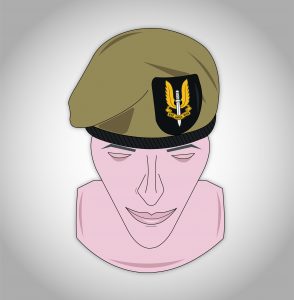
Once your beret is dry, place the corps badge onto the left side of beret as per ADM.
